Creating a Photoshop mockup file for Product Templates
- Starting from scratch
- Using Existing PSD Mockups
Starting from scratch
Depending on your subscription level to Art2Cart, your account/team may be allowed to upload your product templates. Product templates are a collection of Photoshop files and associated information about the "blank" product that you or another vendor use. The information includes the size of the print areas, different variants (size and colors), pricing, and physical dimensions - data that would be included in the listings for your channels.
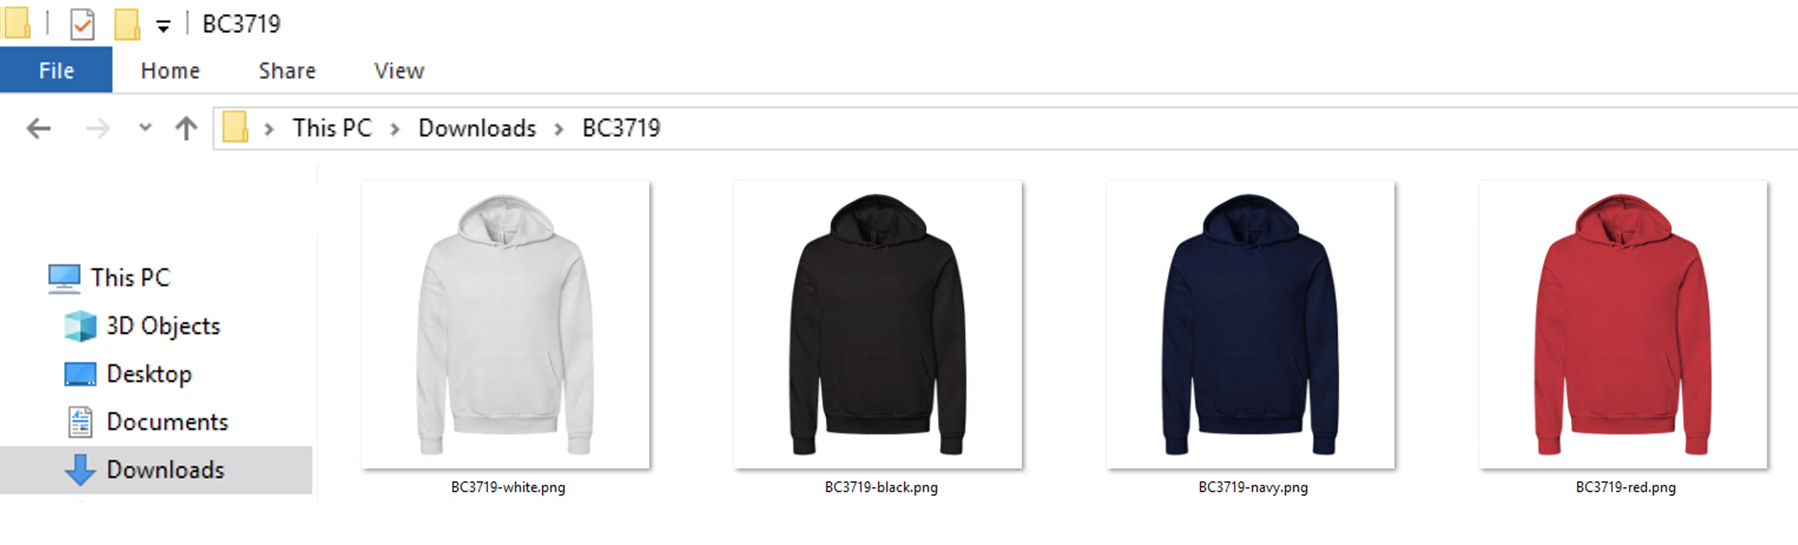
In this example, we turn four color images of a hoodie into a template (white, black, navy, and red). We will assume that you know how to use basic Photoshop functions and how Photoshop mockup files generally work. This is not a detailed tutorial on how to make Photoshop mockup and will skip over some aspects of using those basics skills.
 |
|---|
| Files |
First, we need a placeholder image for the file that will be printed on the shirt. For this example, the printer requires a 14 inch x 9.96 inch @ 300 ppi image (no bleed). Save a PNG file with those dimensions to place into our templates, name the file "printTemplate.png" We will need to place this file into each Photoshop template that we create. If this mockup has more than one design area, make additional placeholders for them as well. The naming of this image is not significant but adding -designAreaName might be helpful.
Bleed, Asymmetric Bleed and N-up Prints
- Note that a placeholder image should be the dimensions of the print file (the image area plus any bleed).
- Asymmetric Bleed: The Design Areas Form only accepts 1 input for bleed and therefore is automatically calculated as the same on all 4 sides. If the print file has bleed that is one value for width and a different value for height, then set the dimensions of the print area (and therefore the print template file) to include the bleed AND enter 0 for bleed.
- N-up Prints: If the products are print as a gang, the print file may have multiple images of interest. In this case, layer masks over the smart objects will be necessary to make only certain parts visible.
 |
|---|
| Step 1 |
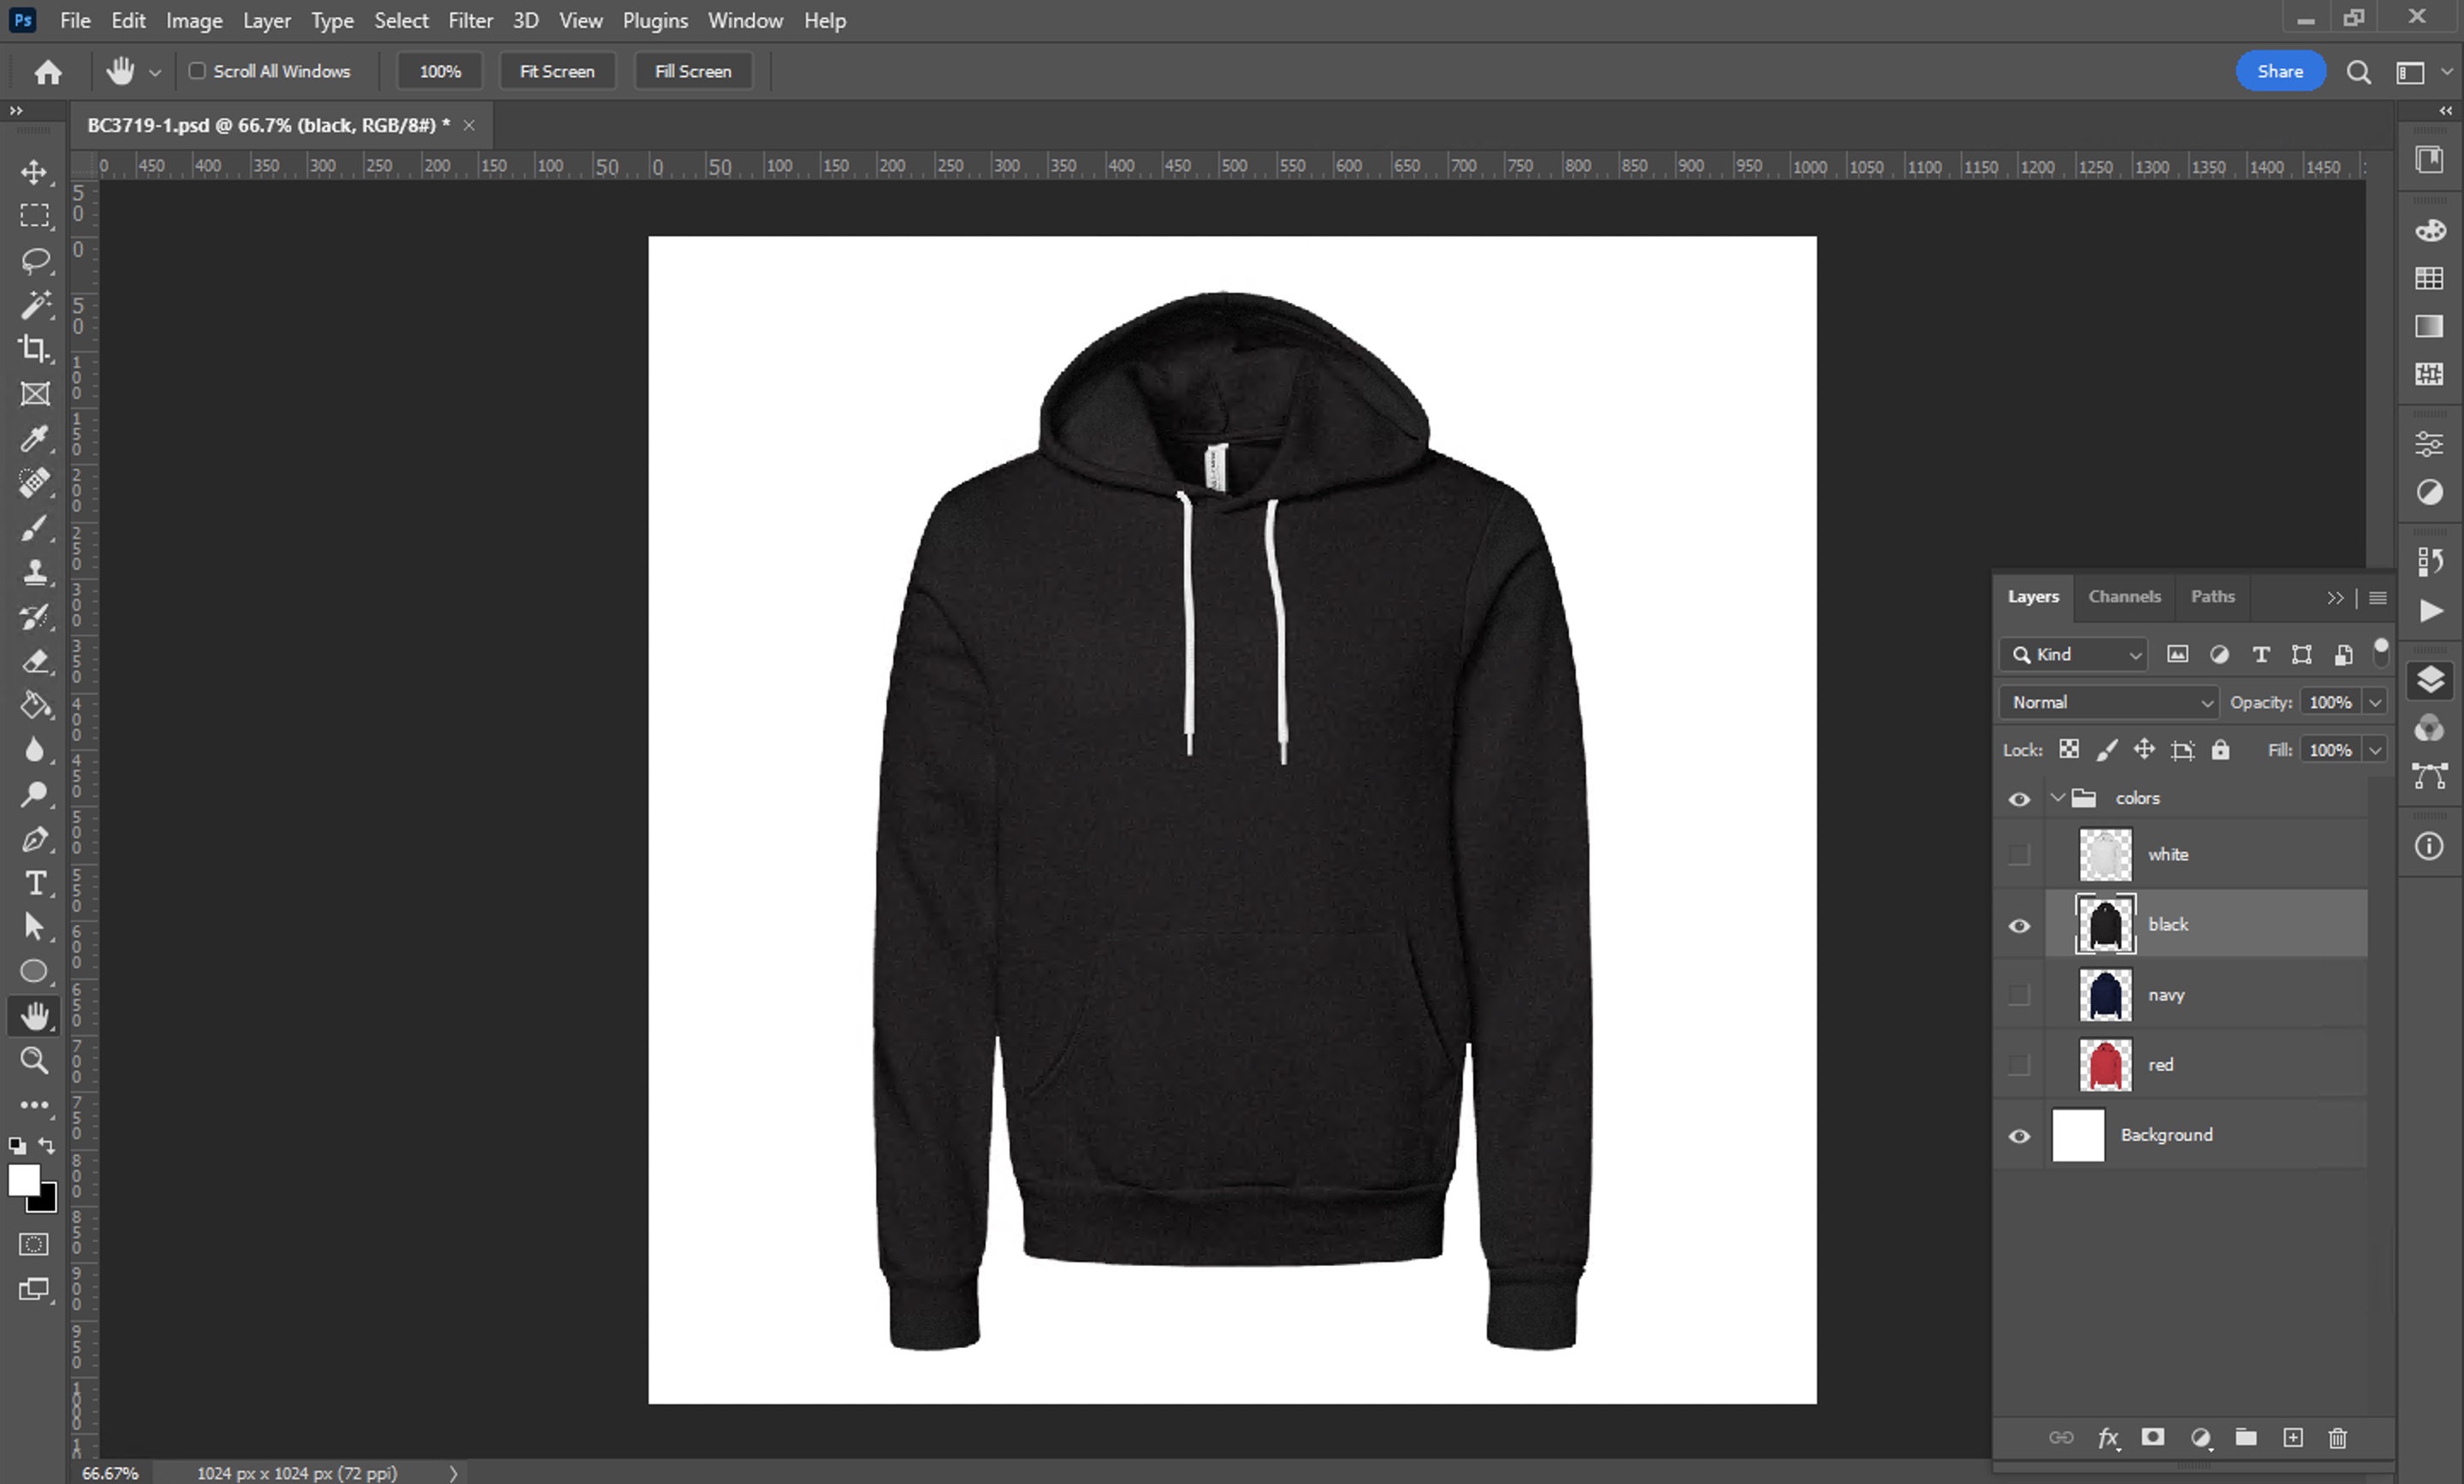
Now, start a new Photoshop file and then import the 4 color images of the hoodie into their own layers. Please keep your templates to 1000px x 1000px maximum size.
 |
|---|
| Step 2 |
Select all the color image layers in the Layers panel and put these layers into a layerset named "colors" (note: exactly "colors" as it is case-sensitive) by choosing New Group from Layers in the Layers panel menu. If you have only one variant (white), name it "white" and put that into a "colors" layerset.
 |
|---|
| Step 3 |
Each color layer should be named the same as a variant that is specified in the Variant form in web UI (or the bulk upload file). Best practices are to use names with no spaces and lower case for the layer names (even if the names in the Variant form contain capitalized letters). If there is a mismatch, the Art2Cart automation will try its best to resolve the names. As noted in recipe variants, the color name cannot include "/" or "-" as these characters are reserved by the Art2Cart system.
 |
|---|
| Colors |
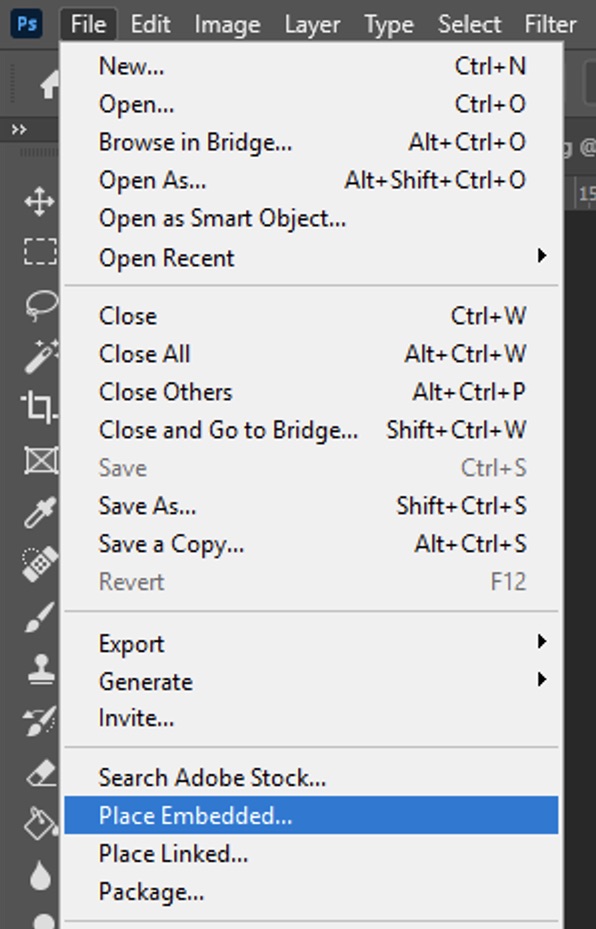
Next, from the File menu, choose the Place Embedded and select the printTemplate placeholder file that you made earlier. Press the Enter key to place the file as a smart object.
 |
|---|
| Step 4 |
You can use the Tranform tools to modify the smart object. If you do not follow these steps, you may encounter unexpected results when incoming designs are not the same size or resolution. After creating the SmartObject, confirm the dimensions of the SmartObject reference is the size of the intended design. By default, Photoshop will create a reference object with a maximum dimension of 1000px. For Art2Cart, these dimensions need to match the replacement design.
Important note: Now check the SmartObject by
- Selecting Edit Contents from the Layers > SmartObject menu (or double-click its icon to open it)
- Then select Image Size from the Image menu
- Confirm that the dimensions and resolution are the same as required. Photoshop automatically scales to 1000px max and 72 PPI if Place Linked is used instead of Place Embedded. This may result incorrect scaling of your placed designs.
Additional note: if this design area is to be used in other views, it is best to copy this SmartObject to your other views at this time.
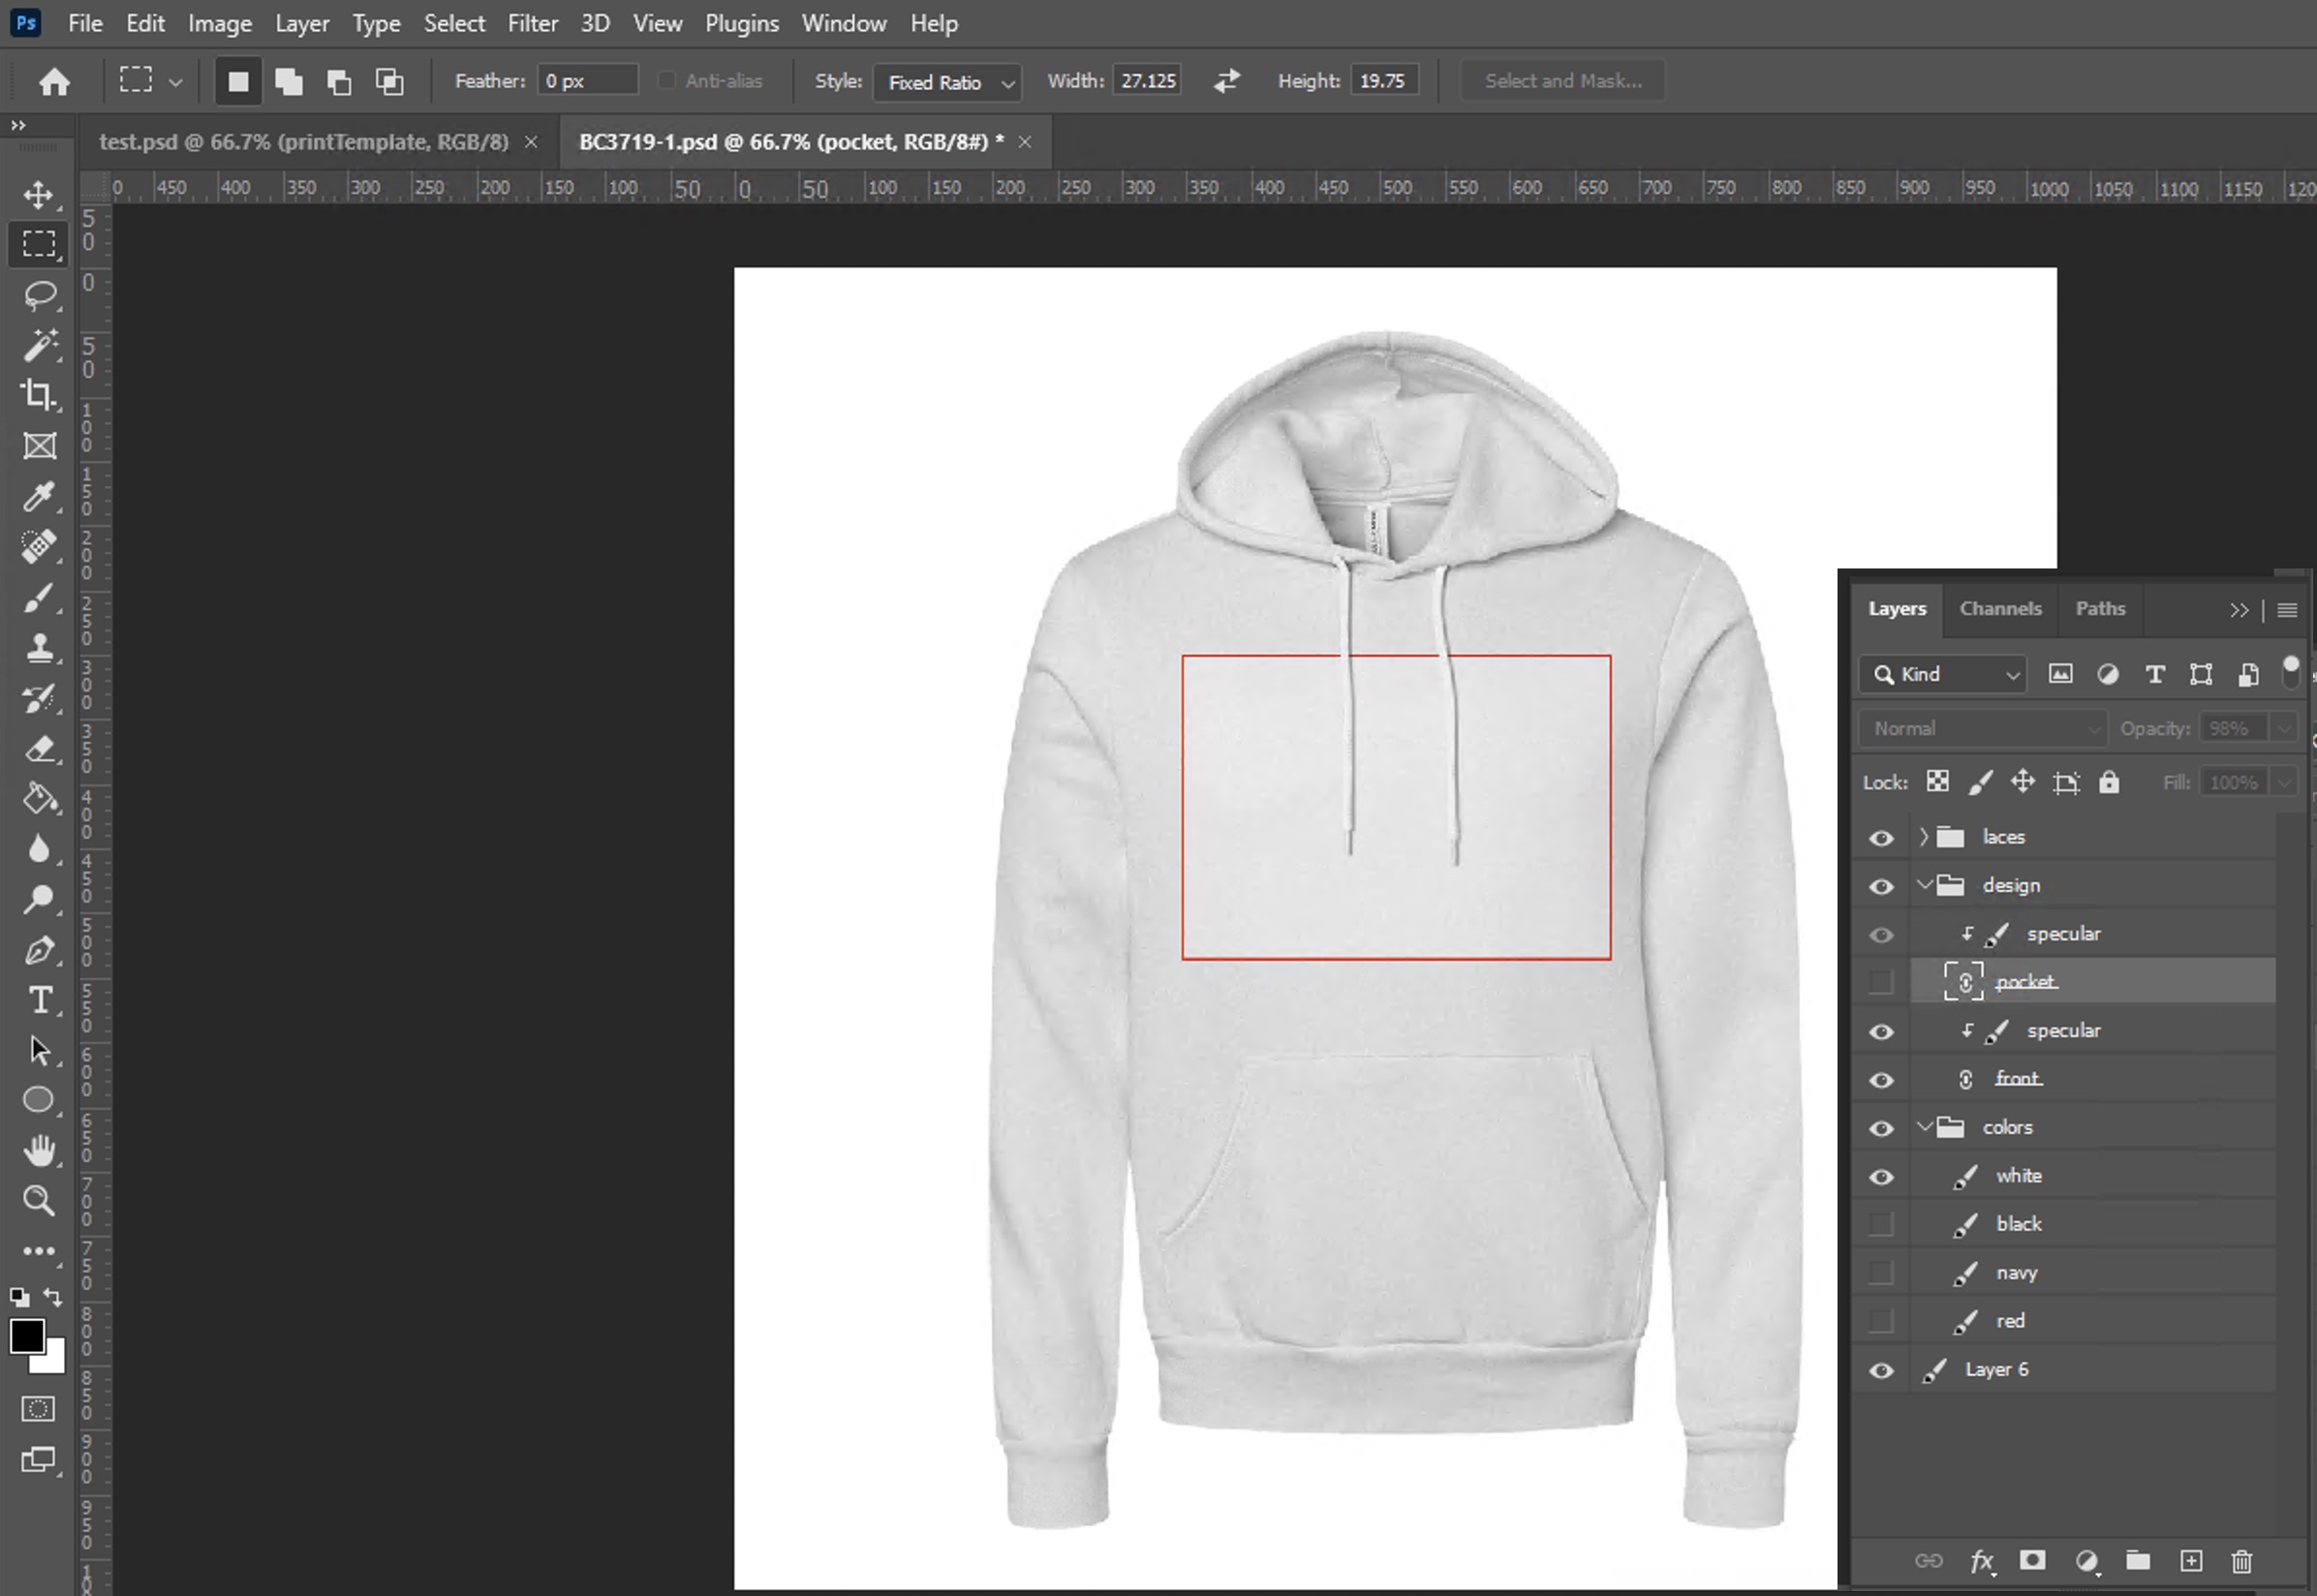
In the layers panel, rename the layer to "front" or the value you have entered in the Design Area form in the web UI (or the bulk upload file). Note that the area name is case sensitive and must match the value in the Design Areas Form. Any text value without spaces or special character can be used. If your templates have multiple areas (like a pocket), you can a new print template (as in Step 1) and repeat this procedure.
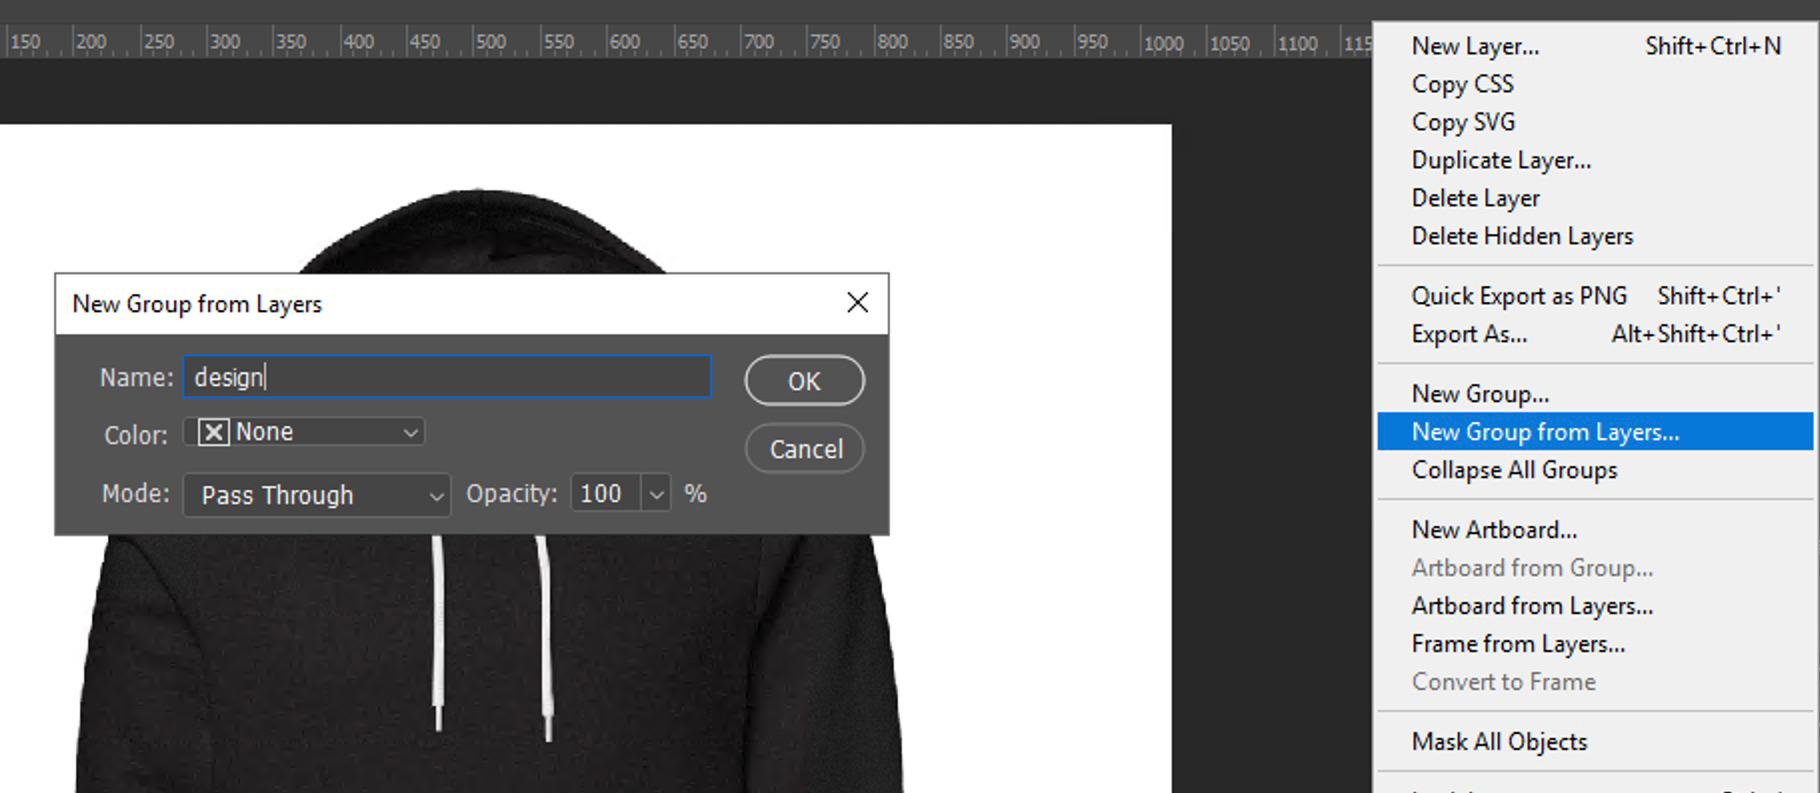
After applying any transformations to your design area(s), select any design layer(s) in the Layers panel and create a "design" layerset using the New Group from Layer menu item in the Layers panel. As before, even if there is only one design area, the "design" layerset is still required.
 |
|---|
| Step 5 |
Please note: if the product type has more than one product like a pocket print, these design areas can be specified and included in the same layerset. However, please note at the current time, Art2Cart only supports a single area per preview generated - a Photoshop template can have "front," "pocket" and "sleeve" design areas, but only one area can be rendered at a time. As a consequence, the preview generated cannot have sleeves and front rendered in a single job request.
Lastly, in this example, the hoodie drawstrings should be shown over the design image. To accomplish this, cut out the drawstrings and put the drawstrings on another layer over the design layerset. Furthermore, you can apply other effects over the smart object layers as indicated by the small arrow icon on the specular layer.
 |
|---|
| Complete |
If the template includes a view that does not show one of the specified design areas (for example, a view of an accessory), the Photoshop file must still include a design layer set and at least one named area. In this instance, put the design layer set ast the bottom-most group in the Photoshop file, set a small scale factor for the smart object and ensure that other "upper" layers of the image obscure/mask the smart object.
Using Existing Photoshop Files
Generally, if you already have Photoshop files that use smart objects, all you need to do is gather the smart object layers into a "design" layerset using the same names entered into the Design Areas Form and gather the color variations into a "colors" layerset using the values entered in the Variants Form.